
Network Map
A drawing of how a building or a site is wired: the devices, what connects to what, the addresses and the cabling, kept as a record you can hand to whoever asks and read back the day something stops working.
Getting started
These are the steps in the order somebody would do them. The same list is in the tool: press F1, or the control reading "How this works" at the top of the window.
1. Press New drawing, name the building, then Save
New drawing above the Maps register opens the form for one building or one floor. Name it and press Save, then Open it. Put the internet connection on it and work inwards: the router, then whatever it feeds. Drawing outwards from the street is the order somebody traces a fault in, and it is the order the automatic layout arranges in.
2. Wire two devices and say what the cable is
Pick a device, press Wire these two, and pick the other end. The cable type and the speed are two separate facts on purpose: a Cat 6 run negotiated at a hundred megabits is the single most useful thing a map can tell somebody on the day the office is slow, and one field holding both answers neither.
3. Put the addresses on while you are standing there
The address is where a box answers on the network and the subnet says which network that is; the panel for the selected device says what each one means. Read them off the box or the router's own page and leave any you do not know blank. Nothing here scans for them: a device list or somebody else's scan waits on the Review screen, and none of it reaches the drawing until you tick it.
4. Press Save this version when the building looks like this
Drawing changes the map straight away; saving mints a version. Every earlier version stays in Keyway and can be opened by number, so the question of what the building looked like when the fault started has an answer. Nothing else in this tool keeps one.
5. Export it and put it on the customer's record
The PDF carries the picture, your letterhead, every address and every run, which is what somebody outside the business can actually be handed. Attach the map to the customer first and the export files itself on their record, so the next person to open them sees a drawing of their site exists.
The screens, and what to do first on each
Each of these opens with nothing on it on a new install. What the tool says on that screen is what this section says, because it is the same sentence.
The list of buildings you have drawn
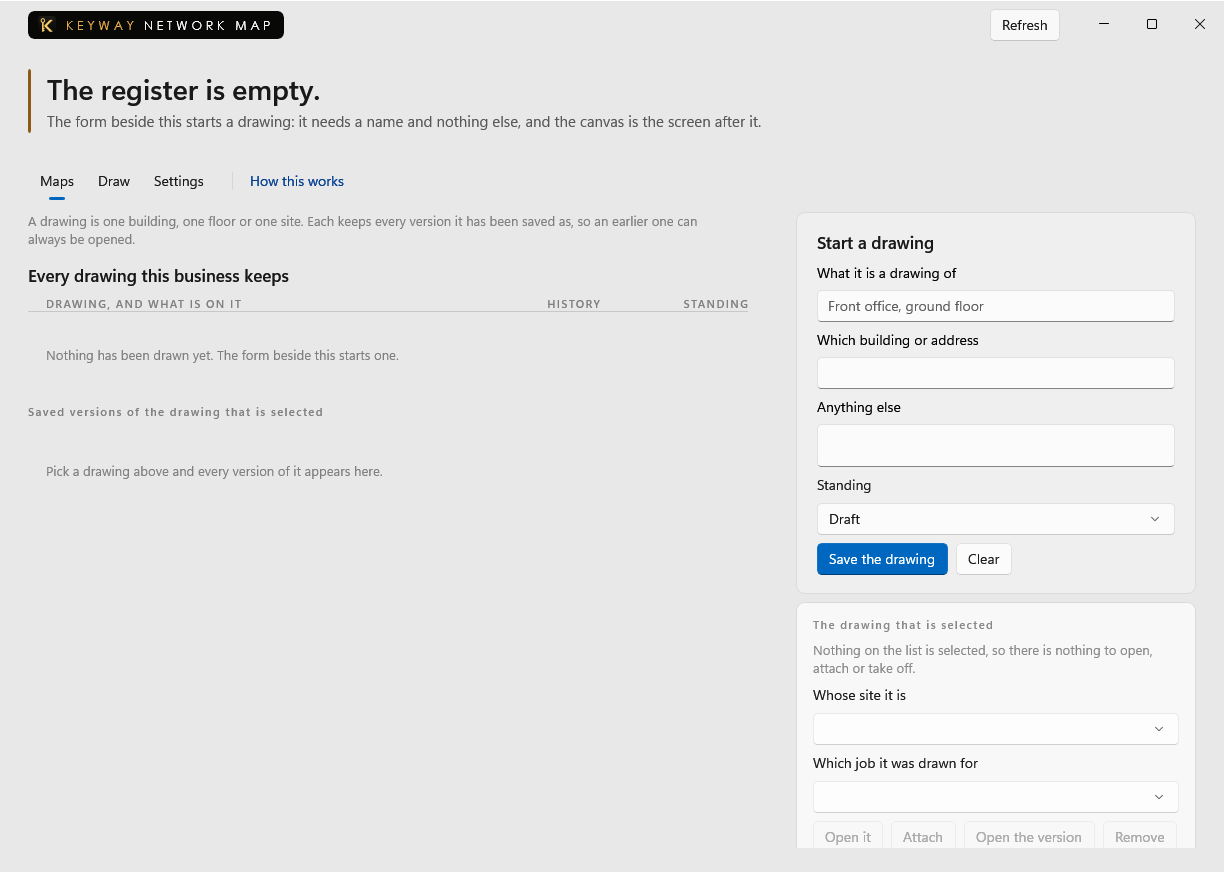
Nothing has been drawn for this business yet. Every save of a drawing is kept, so any earlier version of it can still be opened.
First thing to do: Press New drawing, name the building you are standing in, then press Save.
The canvas, and what goes on it
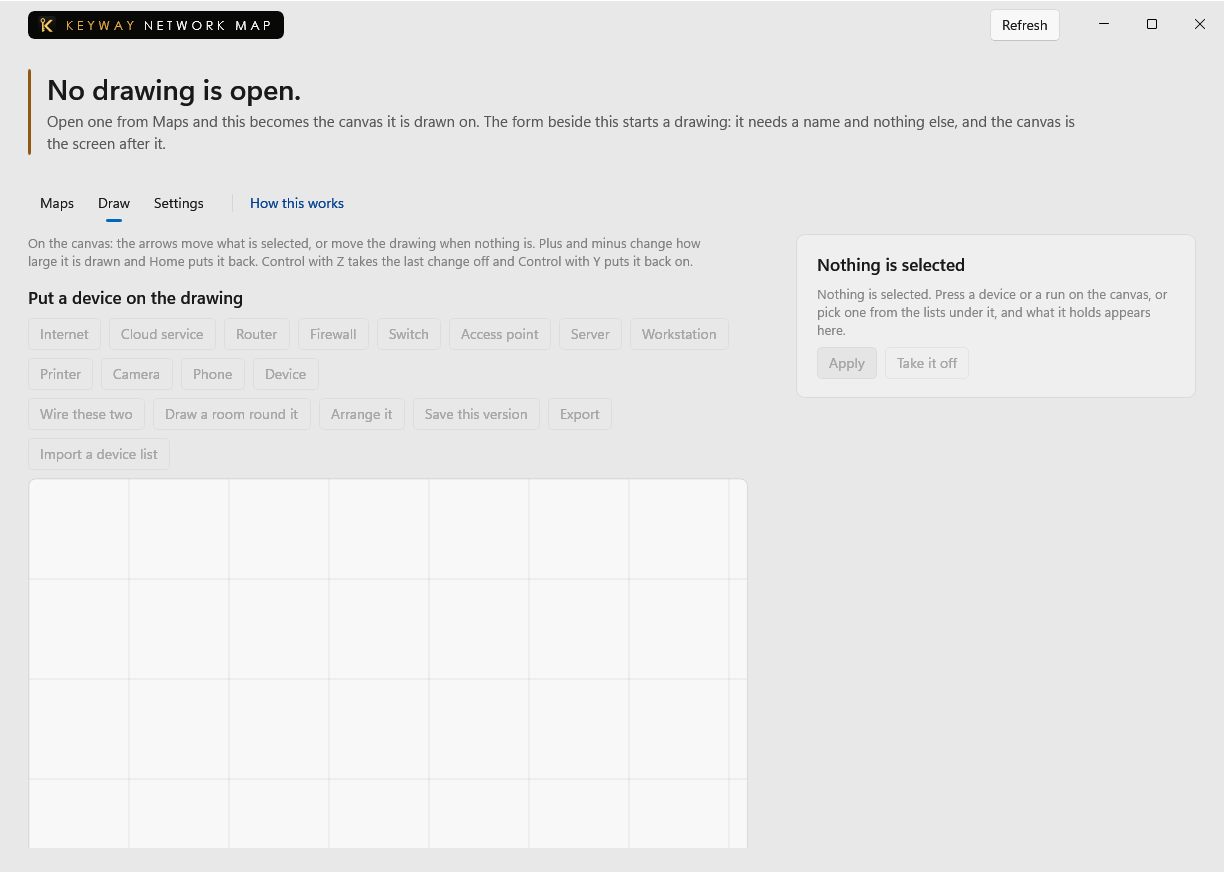
The palette puts a device on the drawing and the panel beside it holds whatever is selected: what the box is called, where it is, and the address it answers on. Everything here has a key, and Shift and F1 draws the list of them.
First thing to do: Press the palette's Internet button to put the connection on, then work inwards.
The grid is the only thing to set
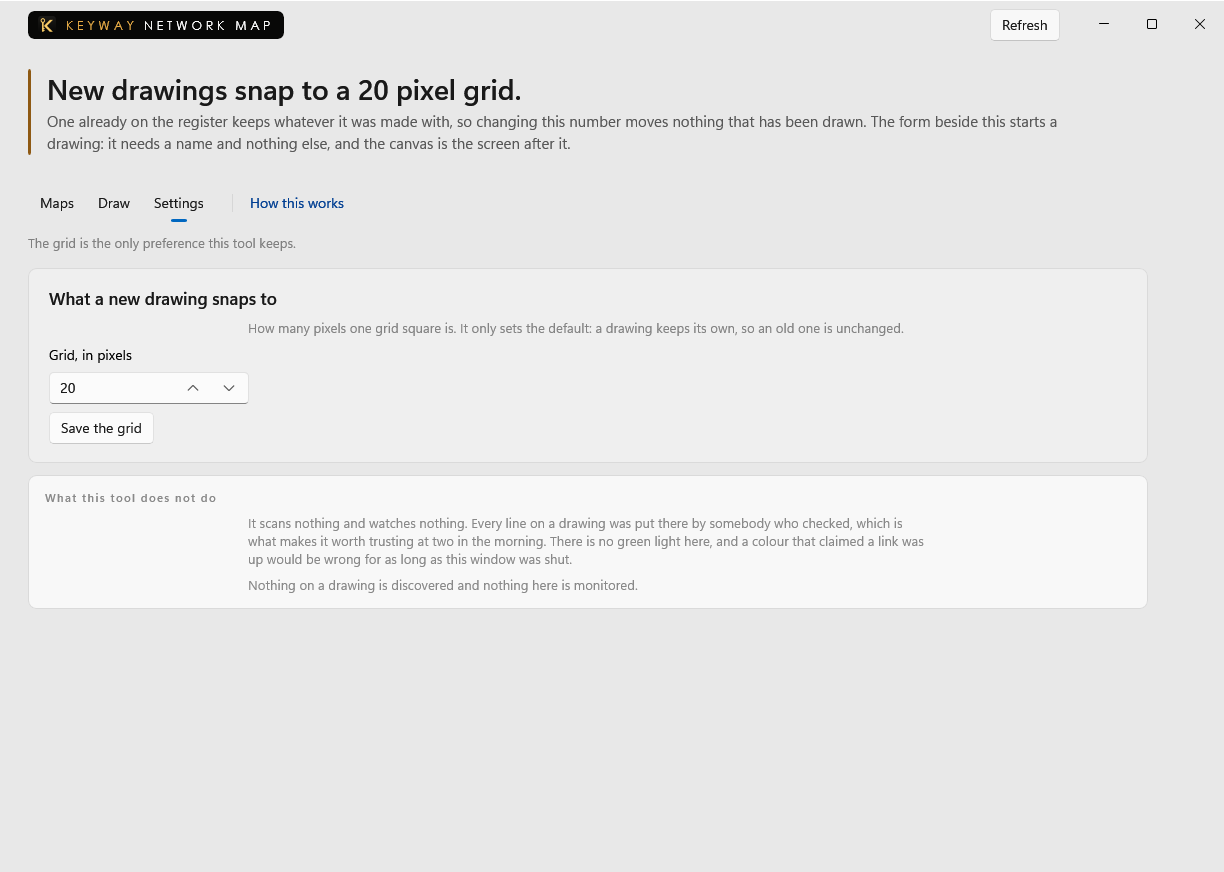
How far apart the squares are is the only preference this tool keeps. Everything else about a drawing belongs to the drawing, so it travels with it when the map is exported or opened on another machine.
First thing to do: Open Maps and start a drawing of the building you are in.
If you get stuck
Write to support@keywaysuite.com. We answer within one business day. Keyway can send us what it knows about your installation: open the hub, go to About and press Get support. It writes one file wherever you choose and never includes your licence, a password, a customer name or a customer address.